Please follow the instructions below to remove your database from the FileMaker Server.
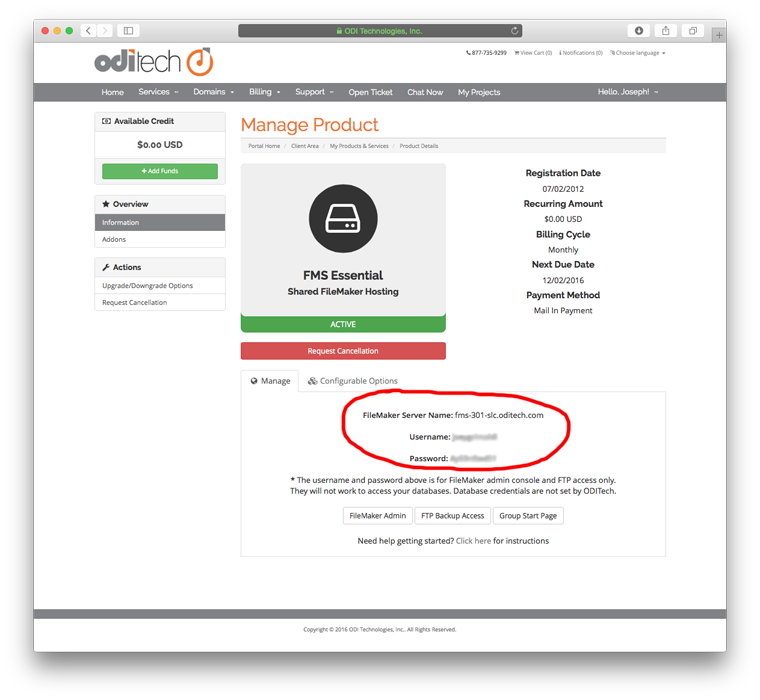
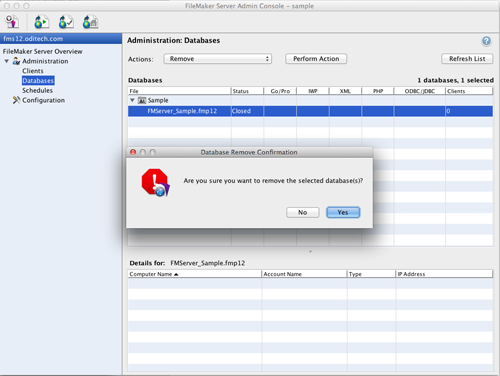
You are finished! If you are done with the FileMaker Admin Console you can quit this application.1. Open the FileMaker Admin Console by double clicking the icon. If you have not downloaded the admin console yet please see Step 2 of our getting started guide.2. Login to the FileMaker Admin Console using the username and password from your welcome letter or the product detail screen in our customer portal area (see Step 1 of our getting started guide)3. After successful login you will see the overview screen which shows you the server status and server information.4. Select the "Databases" menu option on the left to show a list of open databases.6. In order to remove a database the file must be closed. To do this select the database from the list and choose "Close" from the "Actions" pull-down menu then click the "Perform Action" button.7. If there are users connected to the database a dialog box will display with the option to type a message to users. Leave the default "Delay Time" of 2 minutes and click the "Send Message" button.8. When there are no clients connected to the database the status will change to "Closed". You are now ready to remove the database.9. Select the database name in the list and select "Remove" from the "Actions" menu then click the "Perform Action" button.10. A dialog box will appear asking "Are you sure you want to remove the selected database?" Click the "Yes" button to remove the database. Please remember that this is permanent and you will not have access to download this database after you remove it.


