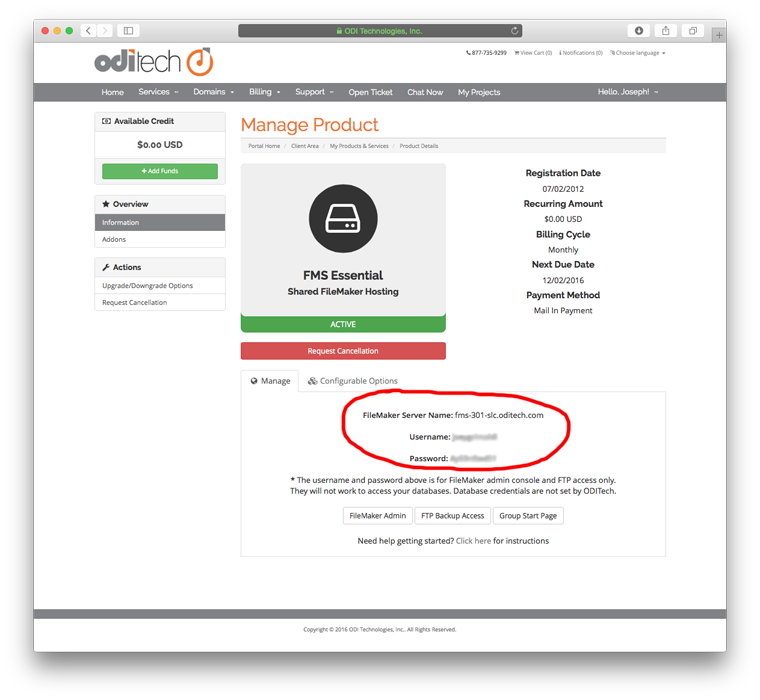
Now the fun begins! Lets start by opening FileMaker Pro on your computer.
- In order to access your database on our servers we need to tell FileMaker Pro where this database lives. You can find out the name of our FileMaker Server where your database is hosted in your welcome email or in the product detail section of our client portal area. (see Step 1).

- In FileMaker Pro click the "File" menu and select "Open Remote."
- In the open remote window select "Favorite Hosts" from the "View" pop-up list then click the "Add" button.

- Enter the name of the FileMaker Server you got from the welcome email or customer portal area (i.e. fms12.oditech.com) into both "Host's Internet Address" and "Favorite Host's Name" boxes. Leave "Show all available files for this host" selected and click the "Save" button.
- After clicking save you should be presented with a window asking for your account name and password. Enter the account name and password that you created in the FileMaker security settings for your database.
- You will now be presented with a list of databases that are accessible using your account name and password. Select your database and click the "Open" button.
- You will be asked again for your account name and password. This will authenticate you to this specific database.
- You are now logged in remotely!
Don't forget that you still have a copy of your database on your computer. You should store this file as a backup and only login to the hosted file from now on otherwise you could have different data in two places. Also, check out our many other knowledgebase articles for more instructions including starting, stopping, and downloading backups of your database.
Thanks for being a customer!

