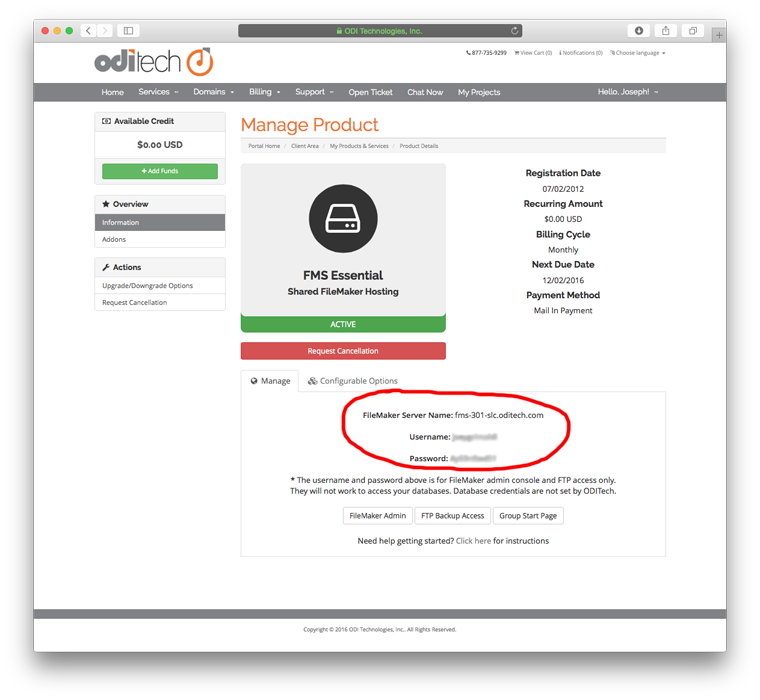
In step one we showed you how to log on to our customer portal area which gave you access to the link to download the FileMaker Admin Console. Now lets put it to good use. If you have already downloaded the FileMaker Admin Console you can skip this step and go to Step 3.
- Login to the customer portal area and navigate to the details page of your product. If you don't know how to do this please see Step 1.
- Click the "FileMaker Admin" button to start the download.

- The FileMaker Admin Console requires Java in order to run. If you do not have Java installed on your computer, please go to http://www.java.com and download/install the version for your computer. On older Mac systems, Java was included with the Mac OS, but since Mountain Lion, Java is now handled by Sun (www.java.com)
- After you click the "FileMaker Admin" button a installer file will begin to download. Once this is complete it should autostart the installer which downloads the actual FileMaker Admin Console Java application and saves it to your desktop. If the autostart does not happen then your system has java autostart turned off. Simply double click the downloaded installer file to start the process. For Mac users using version OS 10.8 and newer, the system will not allow you to double click the file. The solution is to right click (or control + click) on the file and select open. This will give you an option to bypass the built-in security. .
- Once the icon for the FileMaker Admin Console is on your desktop you are ready to move on to Step 3.


